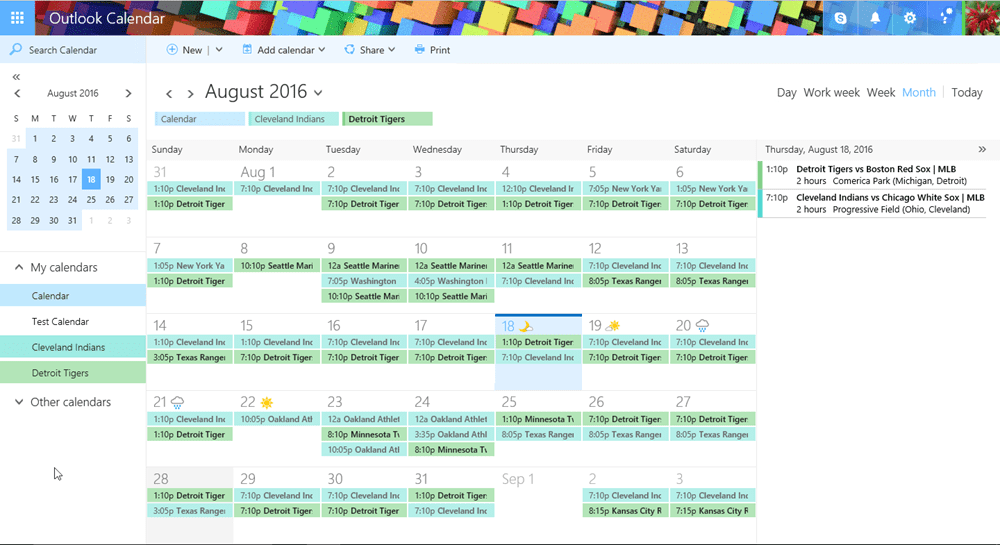
Add Calendar Permissions in Office 365 via PowerShell
This is a tutorial on how to add calendar permissions in Office 365 for your users via PowerShell. You can add the permissions on a specific user’s mailbox, or you can add it onto an AD security group.
By default, Exchange (and Office 365) users can’t view messages or calendar items of other users. The only permission that is provided to all users by default is the ability to view free/busy information in the calendar of other users (AvailabilityOnly role).
Users can independently grant the necessary permissions to mailbox folders and items to other users from the Outlook/OWA interface. Unfortunately, in Exchange 2016/2013 and Exchange Online (Office 365), the administrator cannot centrally manage calendar permissions from the GUI (Exchange MMC, EAC—Exchange Administration Center or Office 365 admin portal). In Exchange 2010 a built-in Add-MailboxFolderPermission cmdlet has appeared that allows you to manage user permissions on any users’ mailbox folder. This cmdlet is also supported in Office 365.
Office 365 Calendar Permissions
Step 1. Run PowerShell
The first is step is to launch Windows PowerShell. We recommend running it as Administrator.

Step 2. Getting Office 365 Credentials
Run the following command to login to 365 via PowerShell with your Office 365 tenant admin credentials:
|
1 |
$LiveCred = Get-Credential |

Step 3. Connect Your Office 365 Tenant
Now you need to create a new session:
|
1 |
$Session = New-PSSession -ConfigurationName Microsoft.Exchange -ConnectionUri https://ps.outlook.com/powershell/ -Credential $LiveCred -Authentication Basic –AllowRedirection |
Step 4. Import Office 365 Session to PowerShell
Now you need to import the Office 365 session:
|
1 |
Import-PSSession $Session |

Step 5. Viewing Current Calendar Permissions with PowerShell
You can view current calendar permissions of the specified mailbox by using the following:
|
1 |
Get-MailboxFolderPermission username:\calendar |
Note. If this command returns that ‘username:\calendar’cannot be found, it most likely means that the user has Outlook language settings other than English. Appropriately, the Calendar folder can be called differently. For example, for the Dutch Language (nl-NL), to view calendar permissions, use the command:
|
1 |
Get-MailboxFolderPermission username:\Agenda |
You can get the name of the calendar in the current user’s language configuration with the command:
|
1 |
(Get-MailboxFolderStatistics username -FolderScope Calendar).Identity -replace "\", ":\" |

As you can see by default on a calendar folder assigned only AvailabilityOnly role.

You can get the list of all user’s calendars default permissions using the following command:
|
1 |
Get-Mailbox | ForEach-Object {Get-MailboxFolderPermission $_”:\calendar”} | Where {$_.User -like “Default”} | Select Identity, User, AccessRights |
Tip. In on-premise Exchange, you can view user calendar settings in a specific mailbox database with the command:
|
1 |
Get-Mailbox –database mbxdbname | ForEach-Object {Set-MailboxFolderPermission $_”:\calendar” -User Default -AccessRights Reviewer} |
Step 6. Office 365 Mailbox Access Roles
You can use these available access roles:
- Owner — read, create, modify and delete all items and folders. Also this role allows manage items permissions;
- PublishingEditor — read, create, modify and delete items/subfolders;
- Editor — read, create, modify and delete items;
- PublishingAuthor — read, create all items/subfolders. You can modify and delete only items you create;
- Author — create and read items; edit and delete own items NonEditingAuthor – full read access and create items. You can delete only your own items;
- Reviewer — read-only;
- Contributor — create items and folders;
- AvailabilityOnly — read free/busy information from the calendar;
- LimitedDetails;
- None — no permissions to access folder and files.
Step 7. Assigning Office 365 Calendar Permissions with PowerShell
Now run the following command. In the example below, user2 would be able to open user1 calendar and edit it:
|
1 |
Add-MailboxFolderPermission -Identity user1@domain.com:\calendar -user user2@domain.com -AccessRights Editor |
If you need to change the Default permissions for the calendar folder (to allow all users view a calendar of the specified user), run the command:
|
1 |
Set-MailboxFolderPermission -Identity user1@domain.com:\calendar -User Default -AccessRights Reviewer |
Check permissions again using the Get-MailboxFolderPermissions cmdlet, they should change:
|
1 |
Get-MailboxFolderPermission -Identity user1@domain.com:\calendar |
FolderName User AccessRights
———- —- ————
Calendar Default {Reviewer}
Calendar Anonymous {None}
Calendar user2 {Editor}
You can also grant permissions to the mailbox not to an individual user, but the Exchange distribution group.
|
1 |
New-DistributionGroup -Type Security -Name “Resource Calendar Owners” -Alias “grResourceCalendarAccess” |
|
1 |
add-MailboxFolderPermission -Identity user1@domain.com:\calendar <em>-User grResourceCalendarAccess -AccessRights Owner</em> |
In some cases, you need to grant Reviewer permissions on a calendar folder in all mailboxes to all users in your Exchange organization. You can make this bulk permission change using a simple PowerShell script. To change Default calendar permission for all mailbox in mailbox database to Reviewer:
|
1 |
Get-Mailbox | ForEach-Object {Set-MailboxFolderPermission $_”:\calendar” -User Default -AccessRights Reviewer} |
Also, you can prepare a CSV file with a list of users and assign them permissions to access a specific user’s calendar:
|
1 |
Import-Csv users.csv | foreach { add-MailboxFolderPermission -Identity "[email protected]:\calendar" -User $_.alias -AccessRights Owner } |
To remove permission use Remove-MailboxFolderPermission cmdlet:
|
1 |
Remove-MailboxFolderPermission -Identity user1@domain.com:\calendar –user user2@domain.com |
Now you can disconnect your PowerShell session from Office 365:
|
1 |
Remove-PSSession $Session |
